|
The experiences described in these posts were Steve & Mic’s at the time they took the ride. Each rider’s experience is unique. These posts do not describe what is usual or likely for the ride described. We had not been on the bike for any significant time in many months, so we decided to try and get some miles in and test out some new gear with an 850 mile ride from home to Santa Fe. NEW GEAR  Hydration Bladders – We purchased two hydration bladders on Amazon. Mic acquired and altered a cooler bag to hold the 2 bladders and velcro to the luggage rack on the Wing. This frees up storage in the saddle bags where we would normally stock multiple flip-top bottles of water and allows us to use the cupholders for other beverages like coffee. The cooler bag adds some insulation to keep the water from heating up in the sun. We replaced the stock hose on Steve’s bladder with 6 feet of beer keg tubing, allowing the hose to run under our legs, slightly tucked under the seat with the end resting across the tank. We clip the bite valve to a retractable cord/carabiner to keep it handy for Steve. Mic’s hose drapes across the speaker/arm rest and is easy to access. WACOOL 3L 3Liter 100oz BPA Free EVA Hydration Pack Bladder, Leak-Proof Water Reservoir 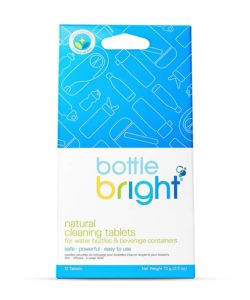 Cleaning the Bladders – We had taken them for a short ride to Vegas and they seemed to work. We cleaned them per internet instructions and loaded them up again for this ride to Santa Fe. Shortly after we started, Steve noted that his water tasted like plastic. Mic’s did too, but his was way worse. Steve reverted to flip-top water bottles for the duration of the trip out. Luckily, we had purchased these Bottle Bright cleaning tablets. After letting them soak overnight with the tablets, the water tasted clean again and the bladders worked great on the road home. Bottle Bright – All Natural, Biodegradable, Chlorine & Odor Free Water Bottle & Hydration Pack Cleaning Tablets  iPad Strap – We used to have the iPad clipped to loops sewn to the back of Steve’s jacket. This would cause the jacket to pull backwards on his neck & shoulders as well as move around as he moved, making it difficult for Mic to use. We tried some rides without the iPad entirely, and found that it is just nicer to have the larger screen to see traffic, side roads and weather patterns. We purchased this strap that would connect to the slots on the Lifeproof Nuud case we use. The strap would sling across body and rest on Mic’s right hip. It seemed to work as well as it did on Steve’s back, even though the iPad needed to be held up for use. It easily slung to the side when not in use. Mic could sometimes use her gloves (depending on the humidity) to operate the iPad and otherwise used the stylus tethered to her jacket. By the end of the 850 miles, Mic did feel a slight pull in her left neck & shoulder, but this also could have been due to persistent cross winds buffeting her helmet. Overall, we’re going to green-light for the IBR. HDE Shoulder Strap for Shockproof iPad Case – Adjustable Carry Strap Compatible with All Shock Proof Apple iPad Cases for Kids – Detachable Universal 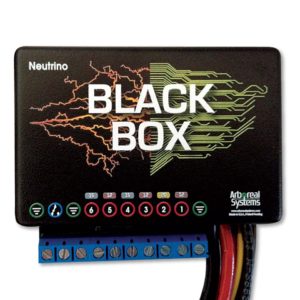 Neutrino Black Box – Steve will have to do a whole other post on this thing… For this ride, we tested the Neutrino’s ability to control our Gerbing heated gear using the ambient temperature. We ditched the Gerbing controllers and plugged directly into the bike, using these coiled extension cords. We set the Neutrino to turn on the heated gear to low when the temperature dropped below 65 degrees. We found that the probe needs to be out a little further as it is getting heat off the bike, but overall it worked. No more flakey, unwieldy controllers hanging off our jackets & pants. Go for IBR! 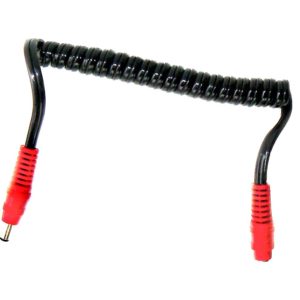 Tour Master Synergy 2.0 Coiled Power Lead Motorcycle Electric Heated Apparel Controllers and Miscellaneous Accessories 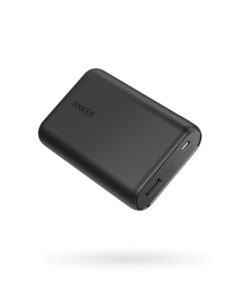 Anker PowerCore 10000 External Battery 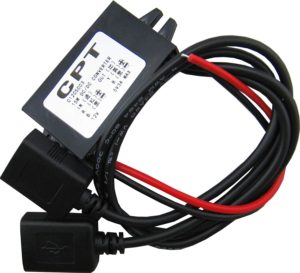 Hardwired Power for Pillion – Mic used to power her devices with Anker PowerCore chargers. We still keep them on hand as they are reasonably small and work great. We found these 2-port USB adapters and were able to wire 2 of them into the Neutrino and tuck them into the left pocket. This creates 4 powered USB ports for Mic to plug in whatever she wants – iPad, iPhone, backup Android phone and Sena headset (when it loses power). As luck would have it, we recently replaced the broken left pocket with one we received from a 2-up couple. They used the pocket for power so it had the perfect hole, complete with grommet, that allowed the power cords to feed into the pocket from the side of the pillion seat, keeping all the connectors in the waterproof pocket. Having 4 power points worked great for Mic and will eliminate the need for battery juggling from the pillion seat. Yeeco Waterproof 8-22V to 5V 3A/15W Dual Power Adapter DC to DC Buck Converter Step Down Power Supply Module Car Power Converter Double USB Cable Connector Car Charger Well that’s enough tech talk. It would be good to do a deeper dive with pics on how we installed and routed all these things, but that’s for another day. Here are some fun pics from our ride…
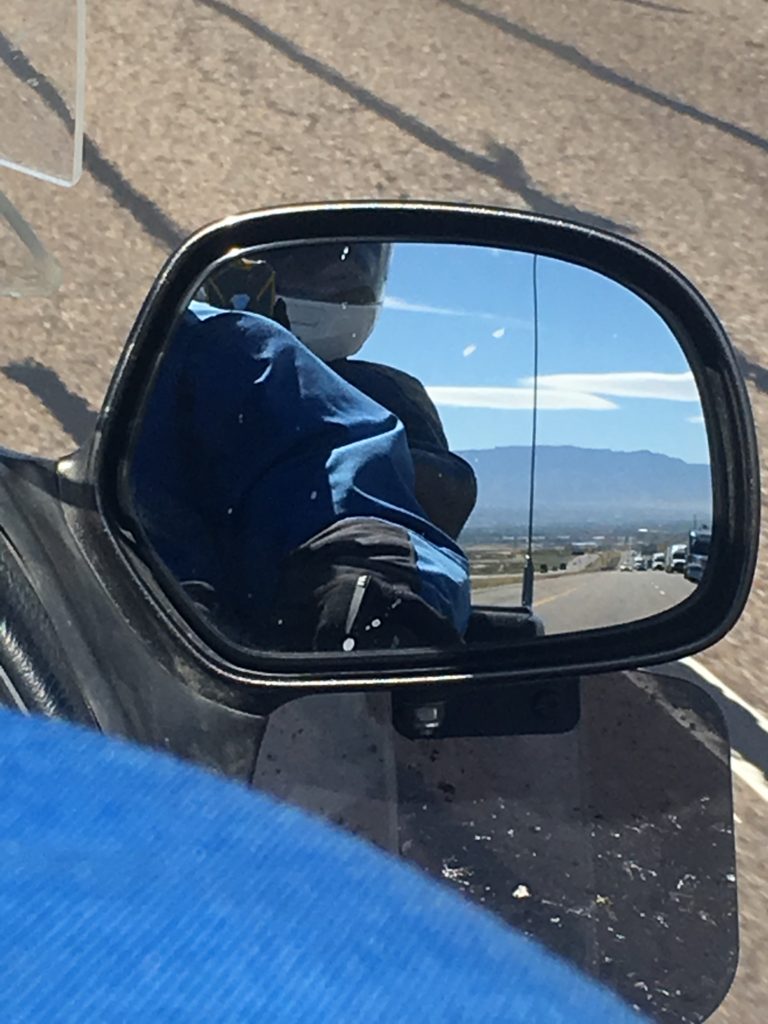
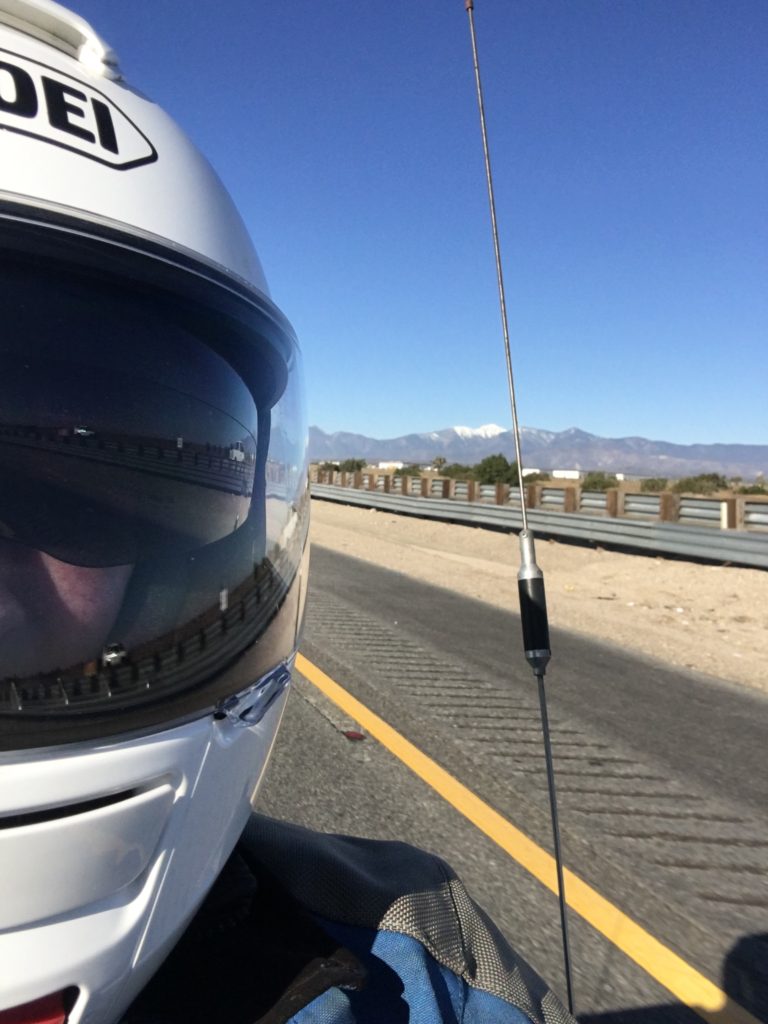
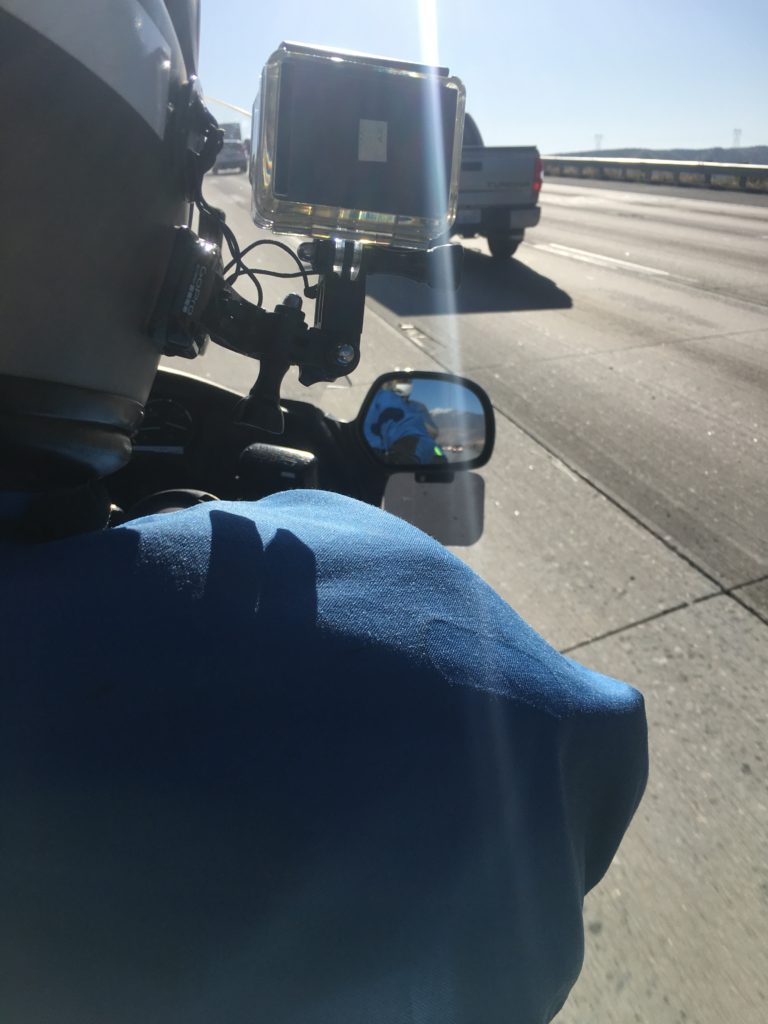
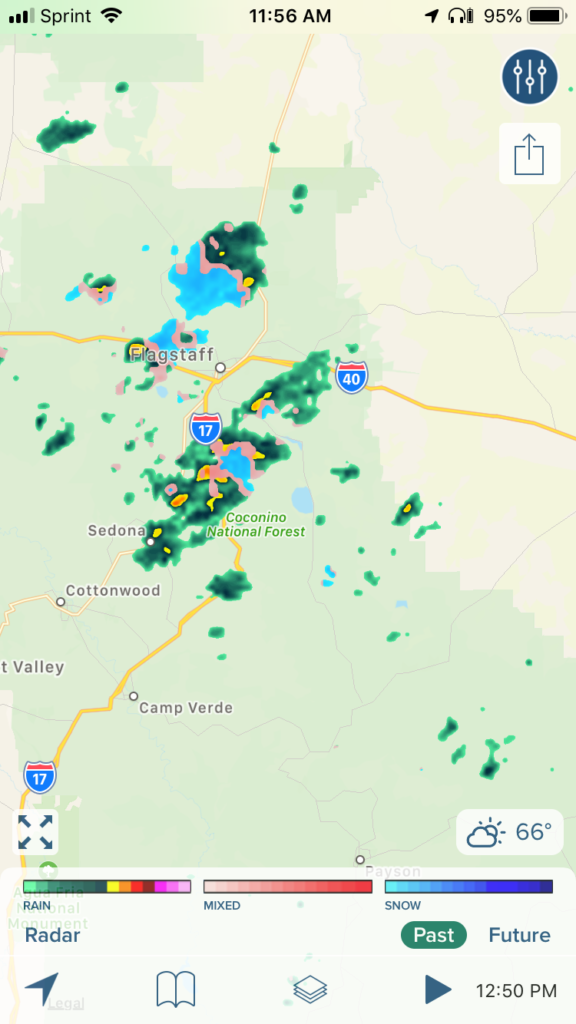
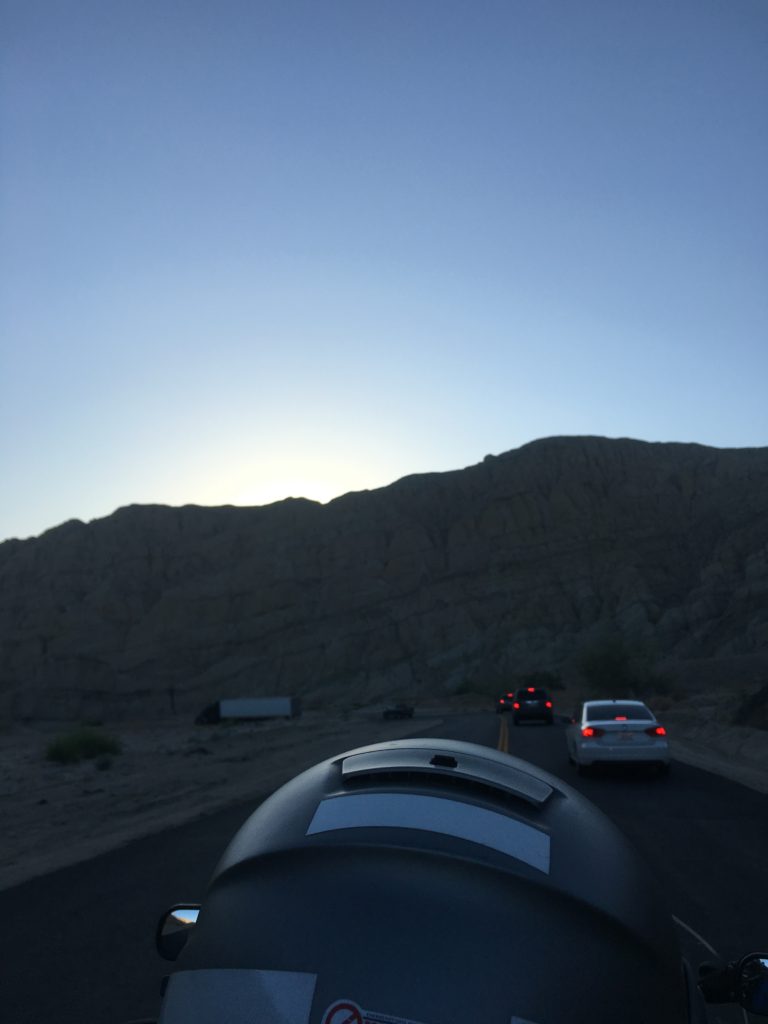
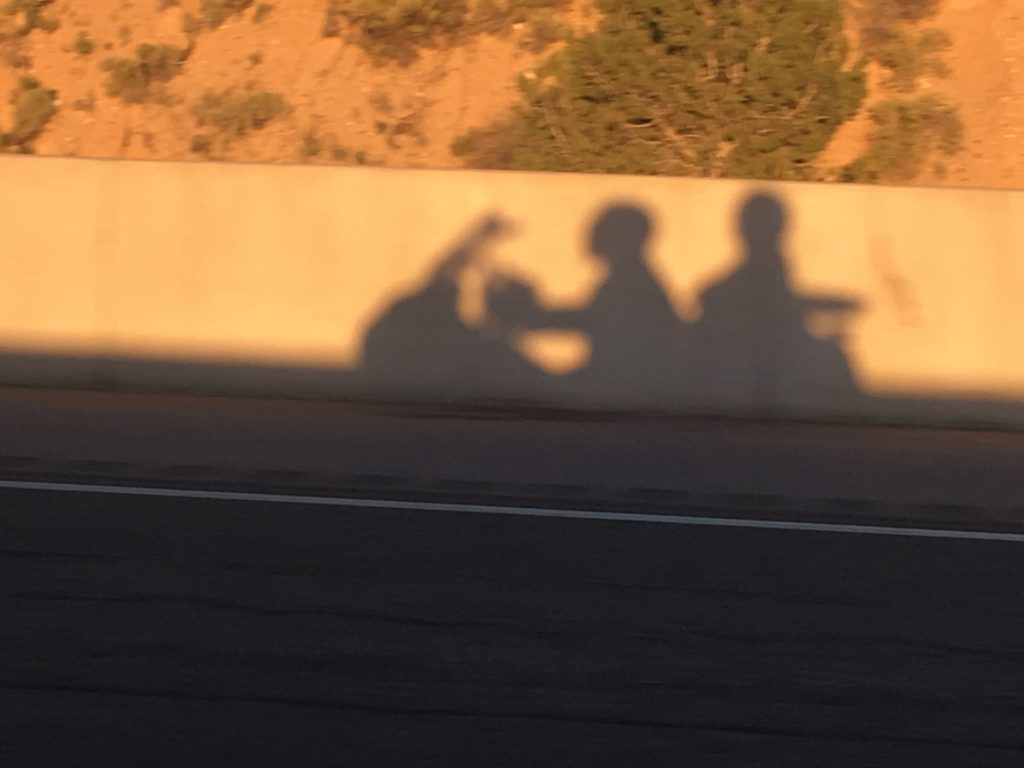
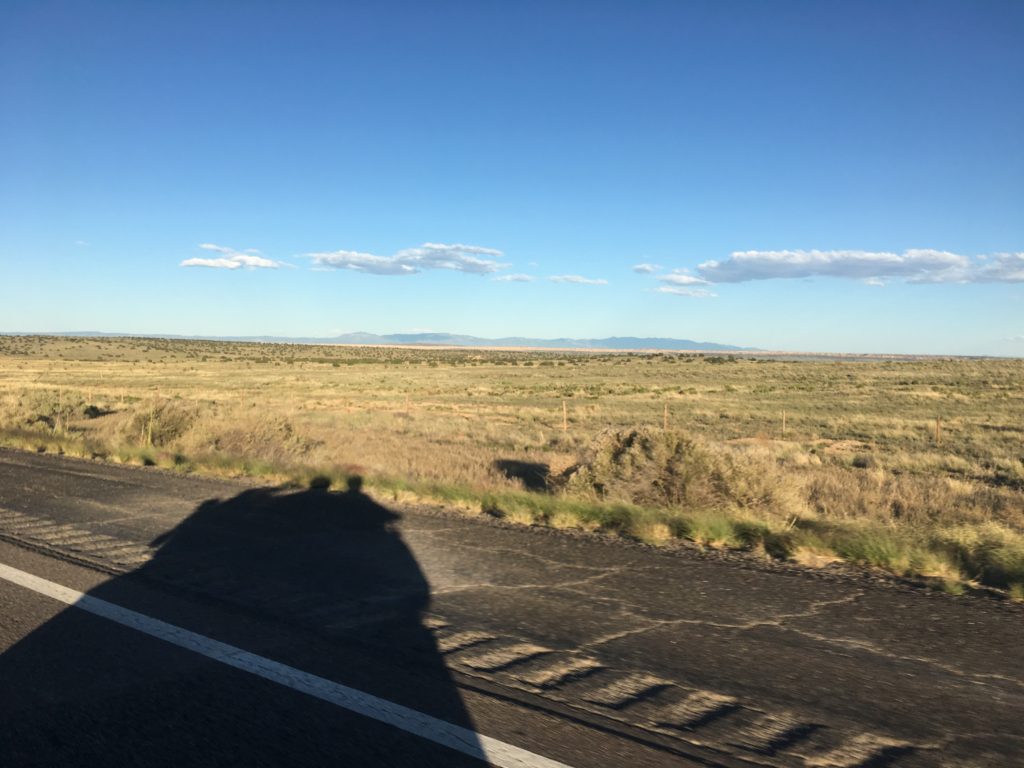
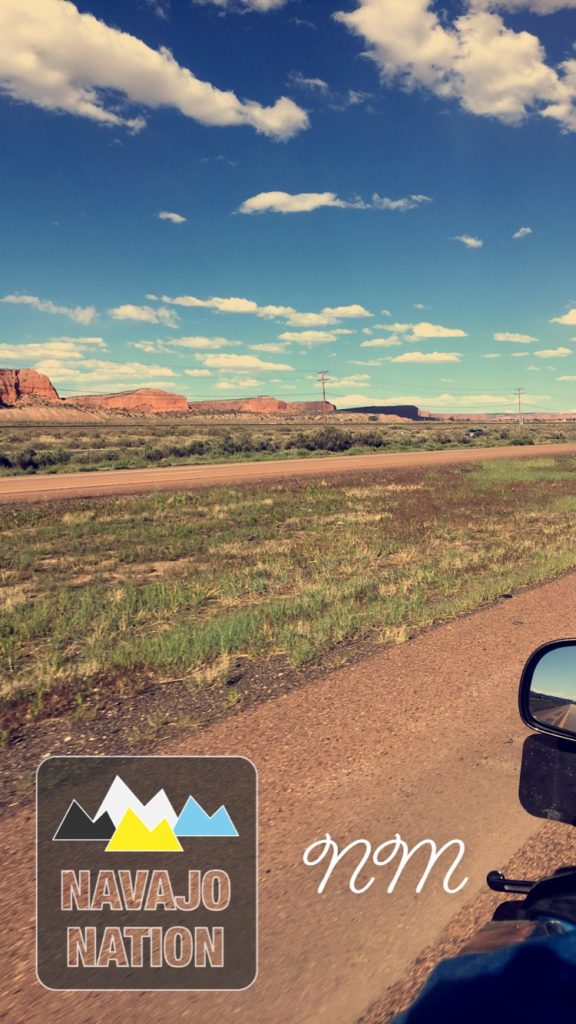
May 25, 2019 – I 15 Barstow Freeway, Victorville – Over the mountains and through the desert, on a road trip we go!  May 25, 2019 – Standin On The Corner, Winslow, AZ – A corner, maybe not THE corner.  May 25, 2019 – I-40, Albuquerque, NM We had some fun with friends, ate some good food and now we're on our way home.  May 27, 2019 – Albuquerque, NM – Westward Ho!
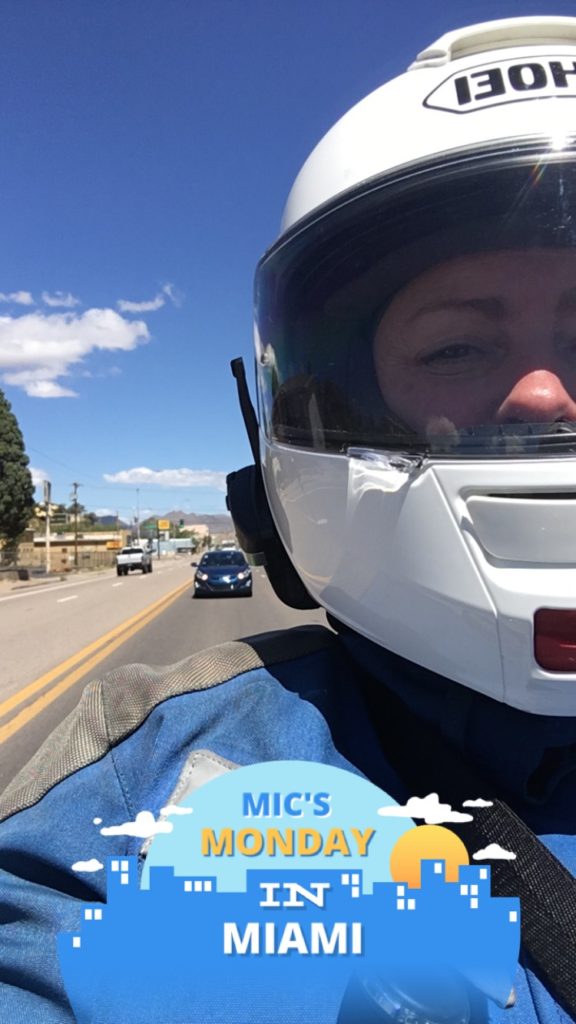
 May 27, 2019 – U.S. Route 60, Apache Junction, AZ – Skipped sleet n snow in Flagstaff. Headed to Phoenix via Miami.
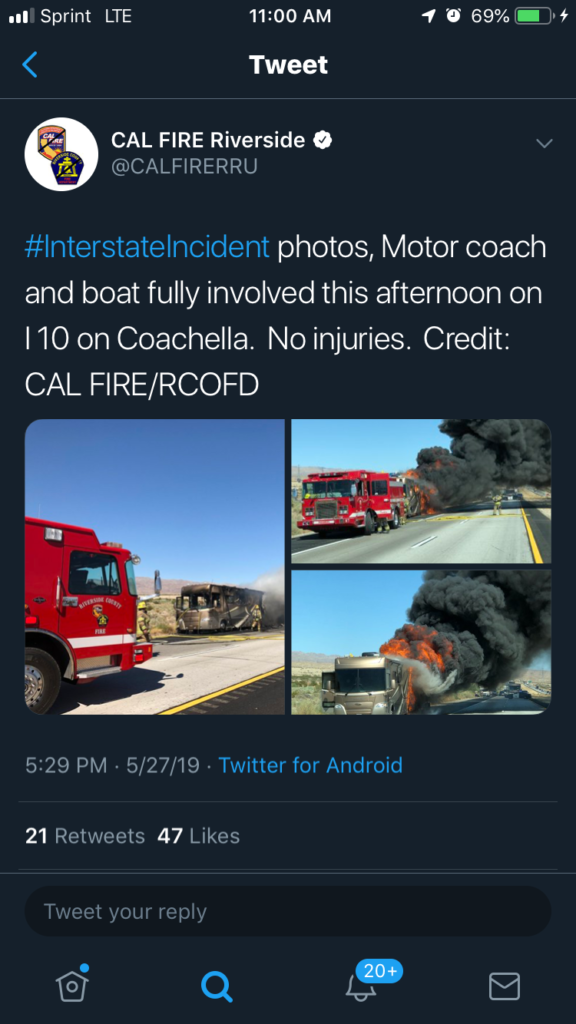
May 27, 2019 – Coachella, CA – Took a route south towards the Salton Sea with caravan of other Wazers to bypass a major slowdown. We’ll pick back up with the 10 shortly.  May 27, 2019 – Cabazon, CA – Bypassed one accident on the 10, but are sitting in another. It probably would have been worthwhile to search harder for a bypass route. It turns out the freeway was impacted from 6pm to 6am with 80,000 lbs of carrots mixed with diesel fuel spilled on the roadway. (pic courtesy of Cal Fire Riverside)  May 27, 2019 – In-N-Out Burger – Costa Mesa – Priorities. We made it home safe. First stop – In-N-Out!
0 Comments
The experiences described in these posts were Steve & Mic’s at the time they took the ride. Each rider’s experience is unique. These posts do not describe what is usual or likely for the ride described. The Lobo Loco Arts & Crafts Mini rally was an 8 Hour Motorcycle Scavenger Hunt. You can start and end anywhere. After you start, you have up to 8 hours to collect as many locations as possible. Themed location information was provided prior to the event allowing you to start plotting your bonus locations. The rally flag will be a drawing of you on your motorcycle, which you create yourself. Bonuses included art, sculptures, carvings, stained glass, mosaics, murals, graffiti, galleries, art schools, craft breweries, rock balancing and glass blowing (among other options). Some needed to be in different cities and there were some other limiting criteria. In addition to collecting bonus points from a few mandatory categories, you must also ride 187 miles in order to be considered a finisher. We finished in 7th place out of 20 who started the rally, scoring 7,176 points. We only lost 1 bonus worth 333 points due to a locked door that kept us from getting a good pic of the inside of a stained-glass window (see if you can spot the pic we tried to pass off), but even with those points, our finishing position remains the same. Of course now, everywhere we go, we see sculptures and murals. All in all it was a fun rally and gave us the opportunity to plan, route, and execute/adjust a plan. All good practice for the upcoming IBR! 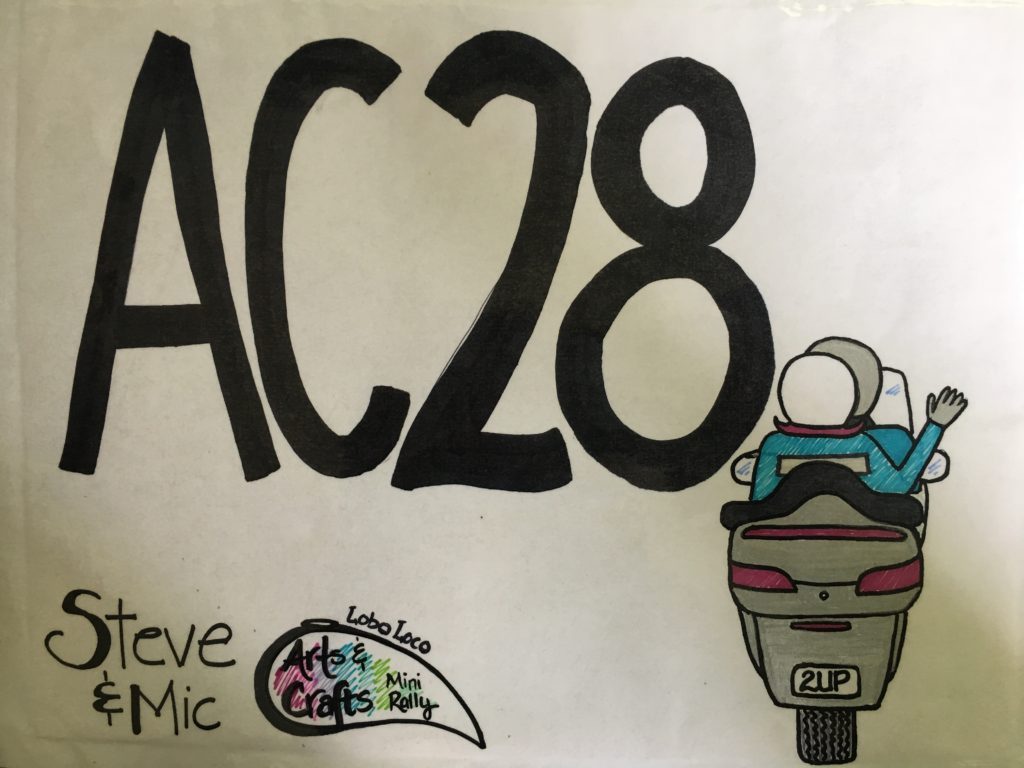 Closeup of our finished rally flag.  Pre-rally bonus – Us on the bike with our ‘rally flag’. 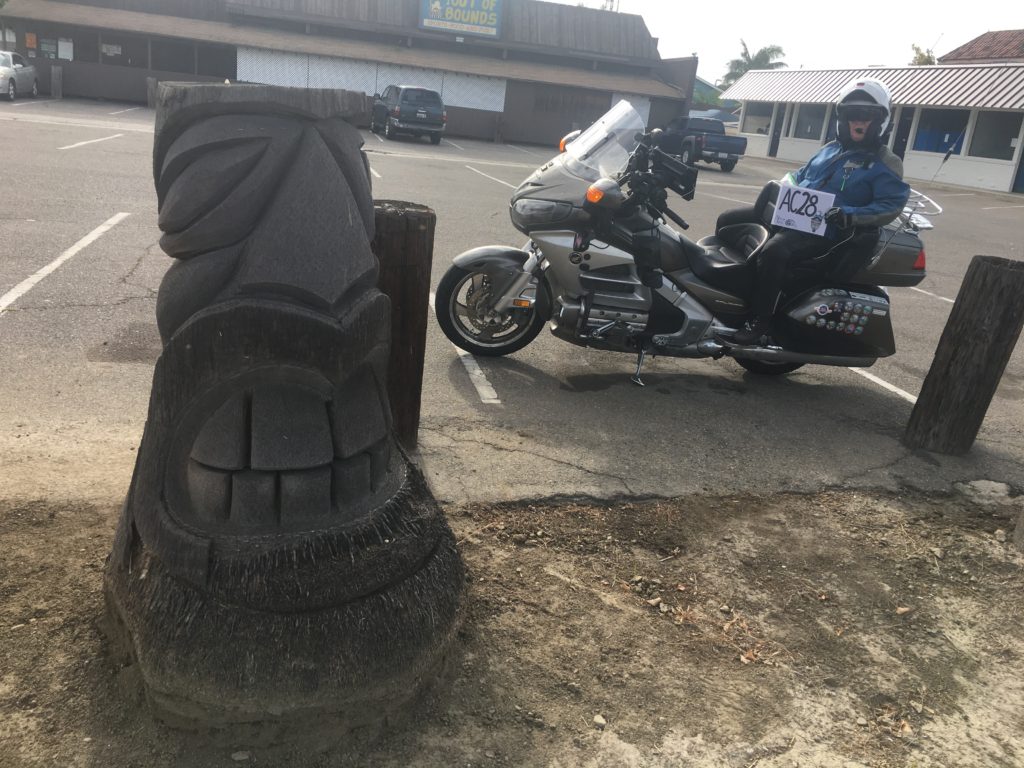 Carved Tree – 77pts 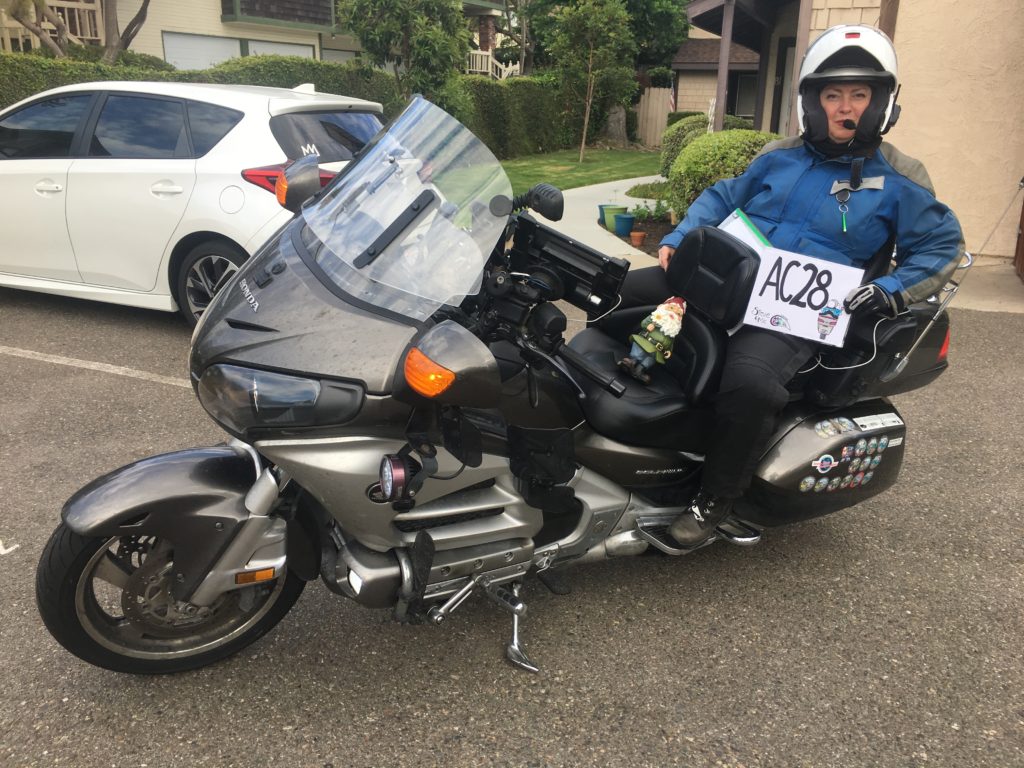 Garden Gnome (on bike) – 335pts 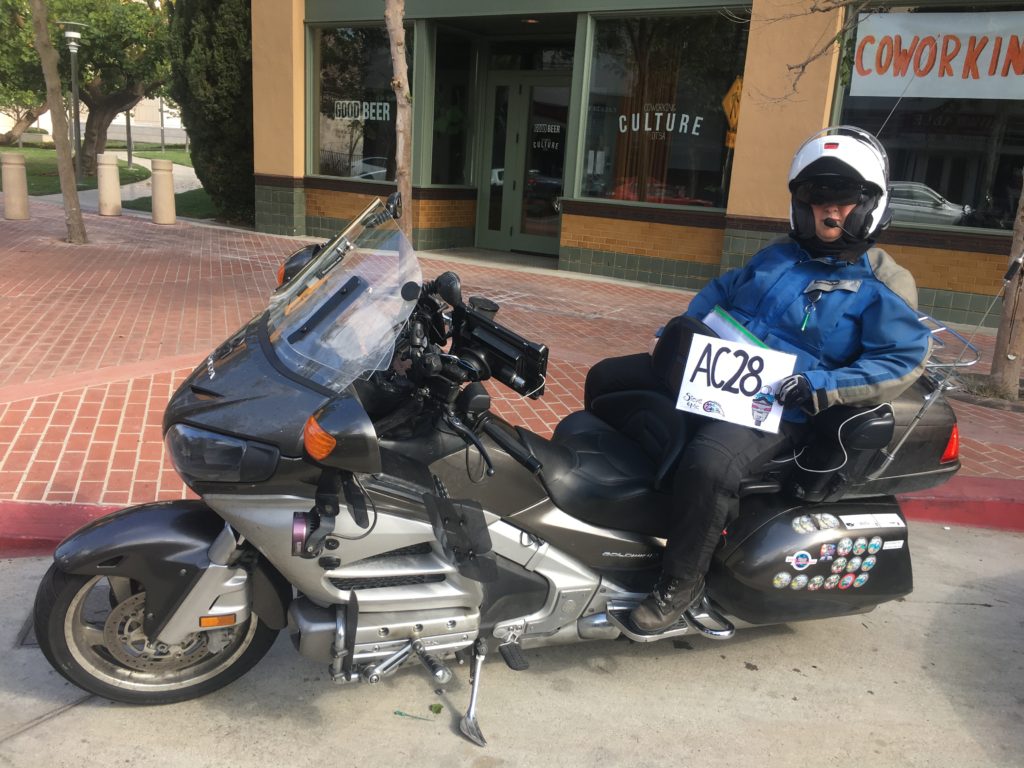 Craft Brewery – 166pts 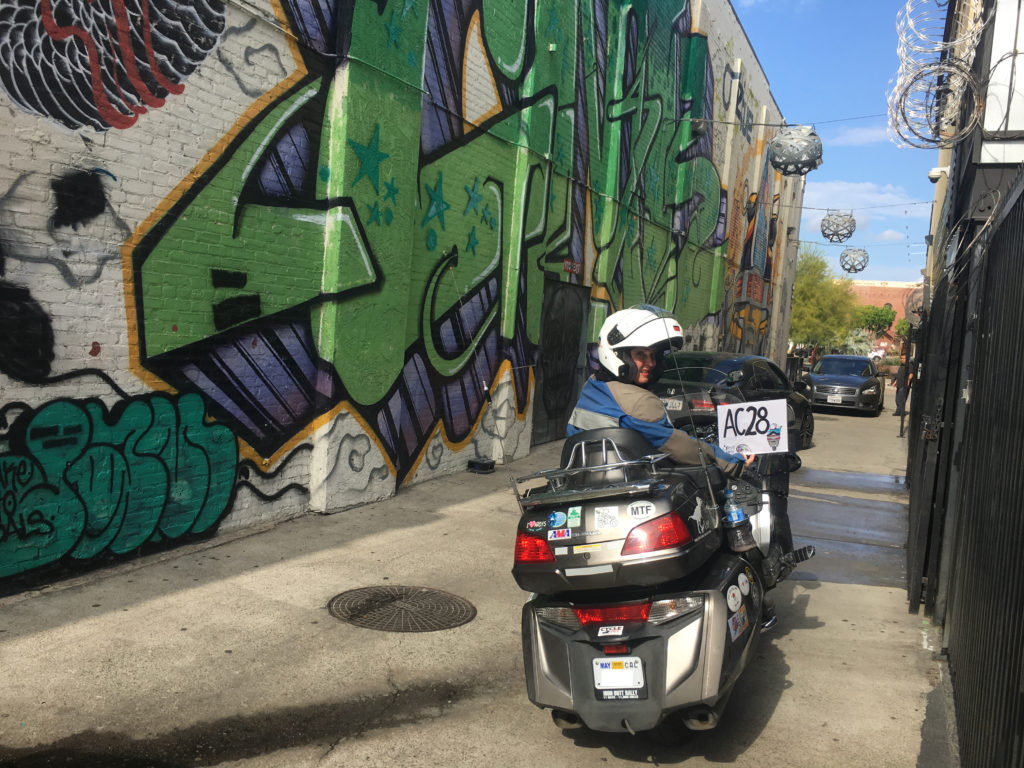 Graffiti – 245pts 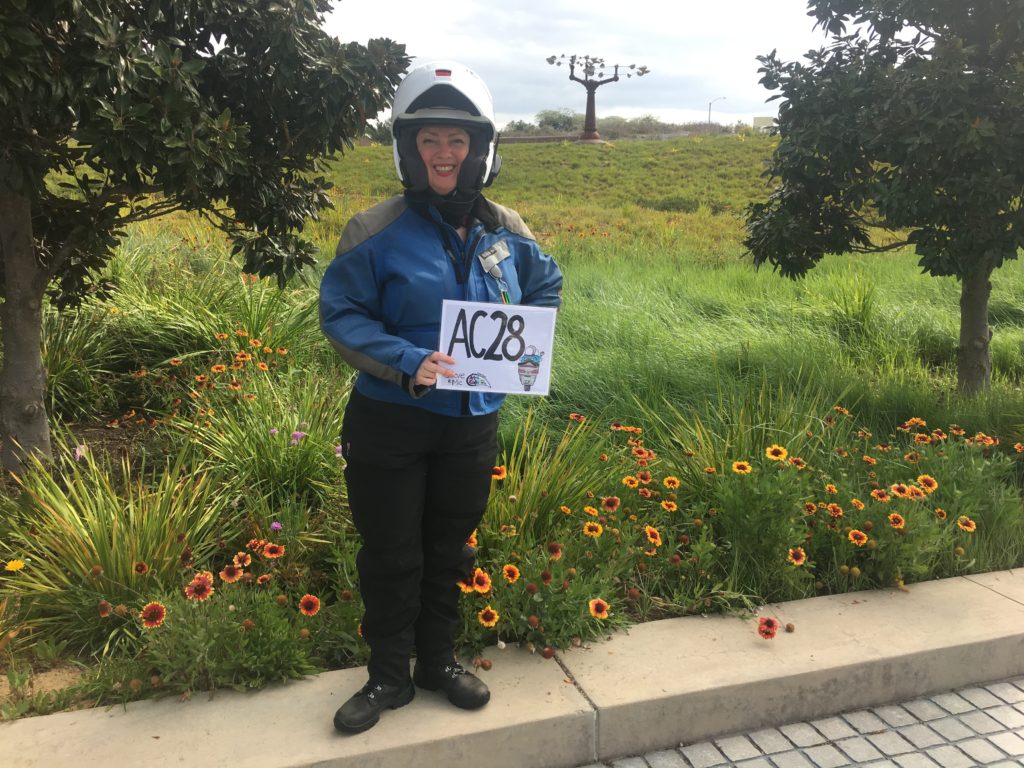 Kinetic Sculpture – 222pts 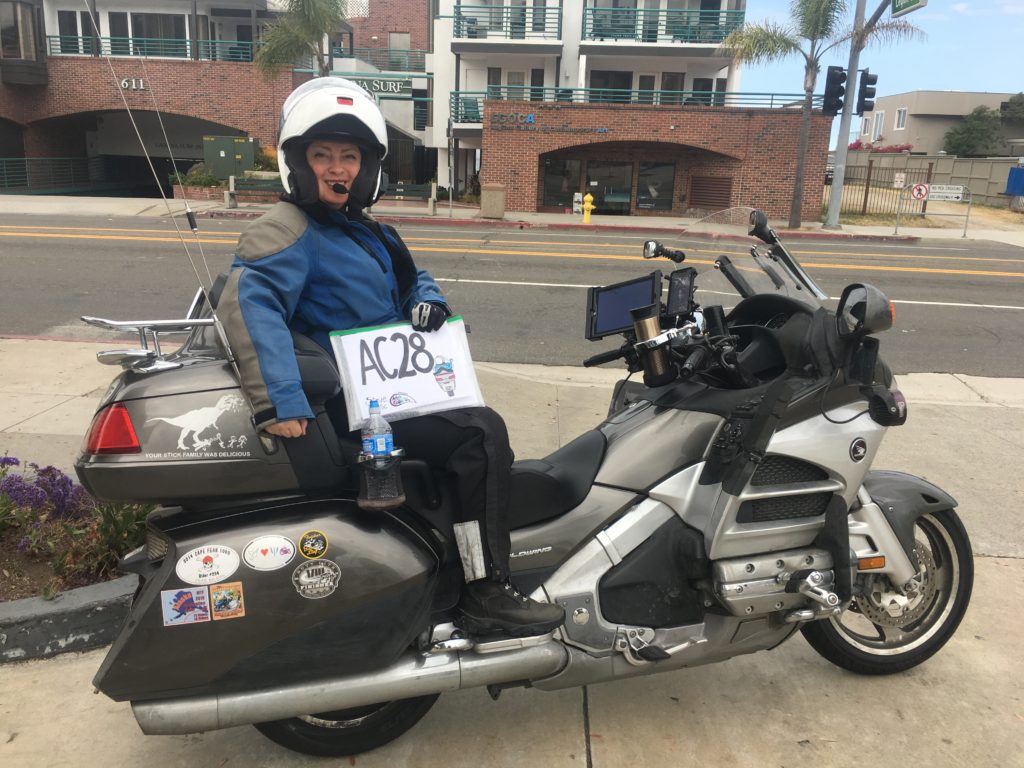 Art Gallery – 175pts  Glass Blower – 750pts 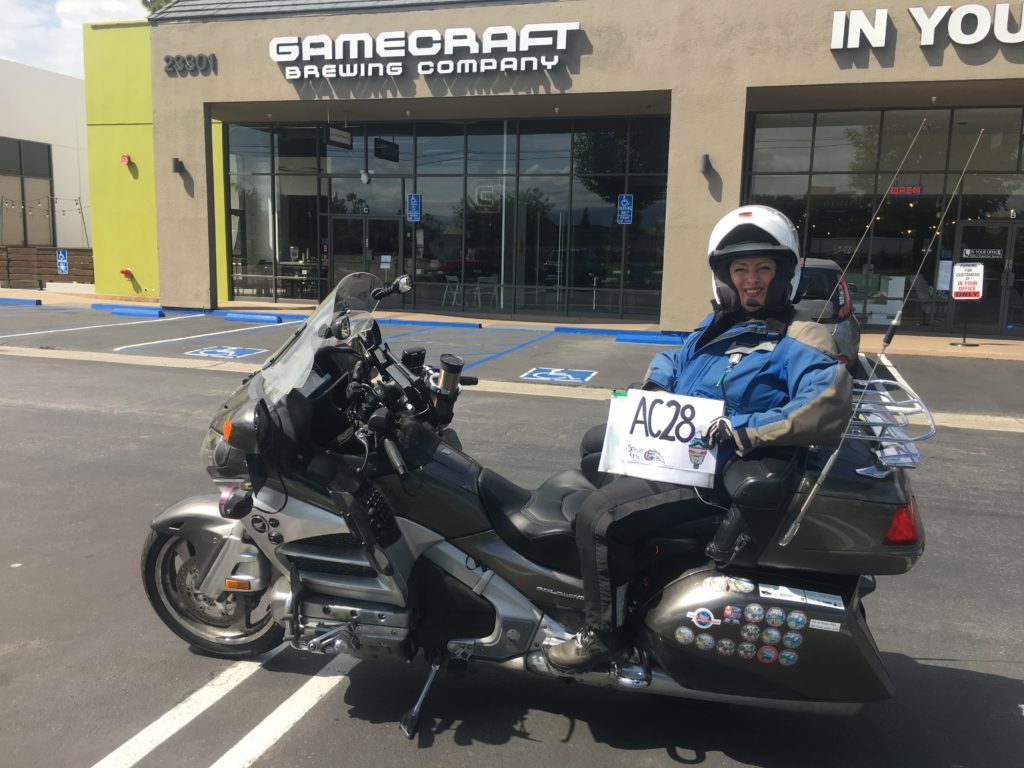 Craft Brewery – 166pts 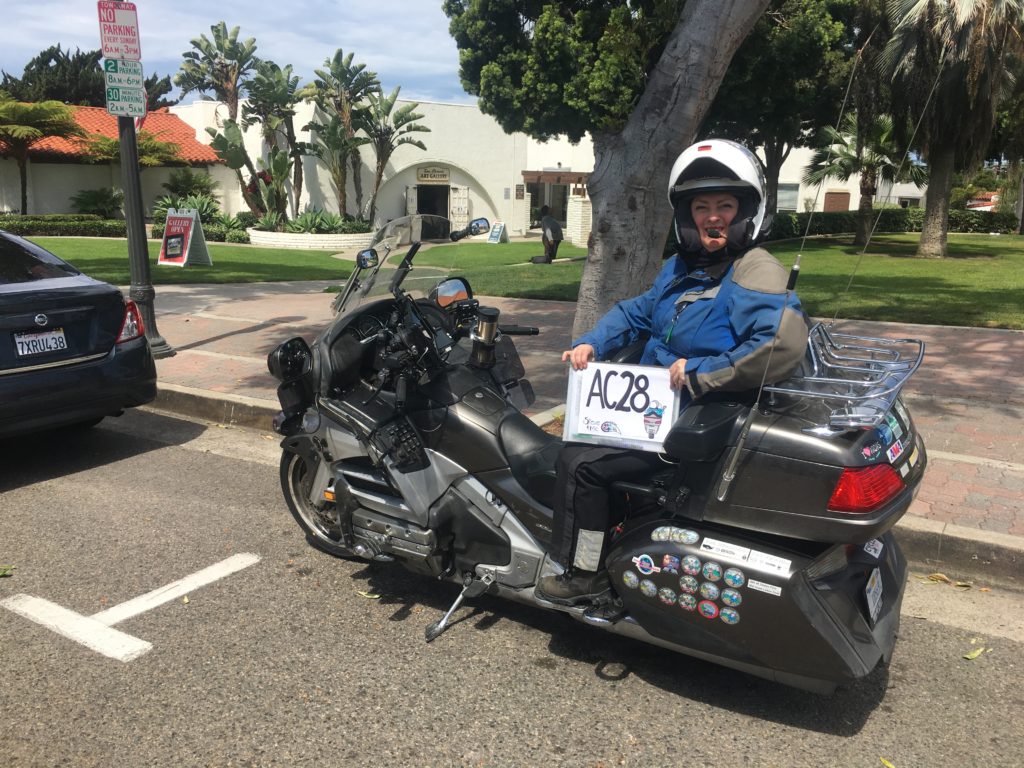 Art Gallery – 175pts 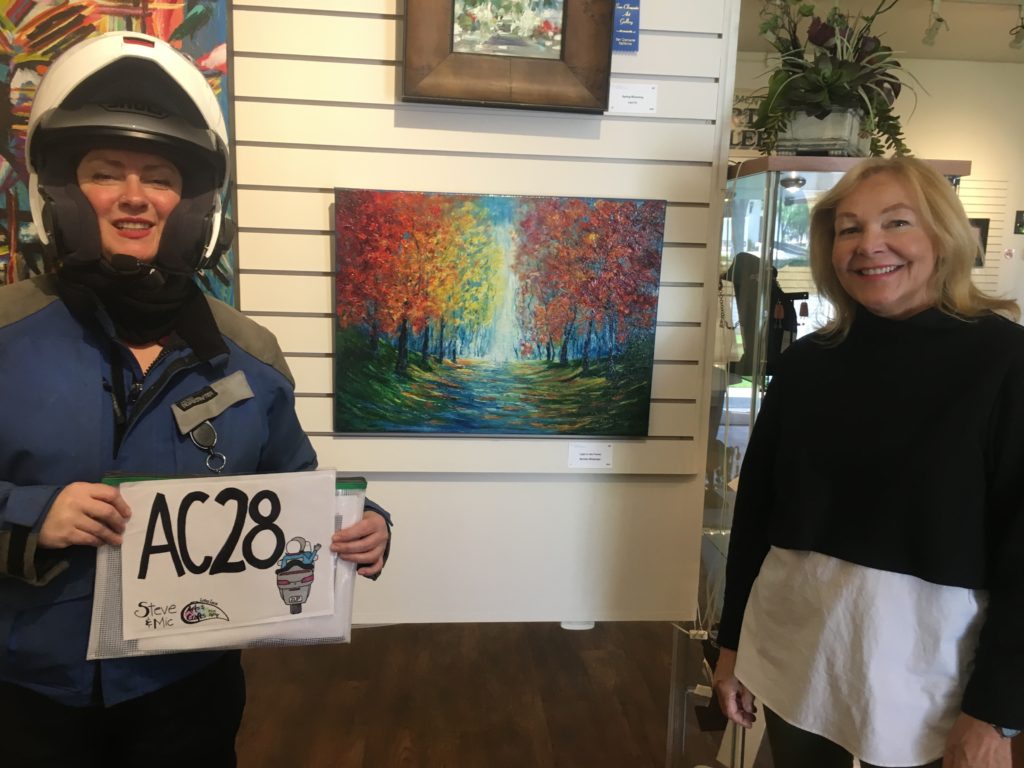 Oil Painting (with artist!) – 250pts 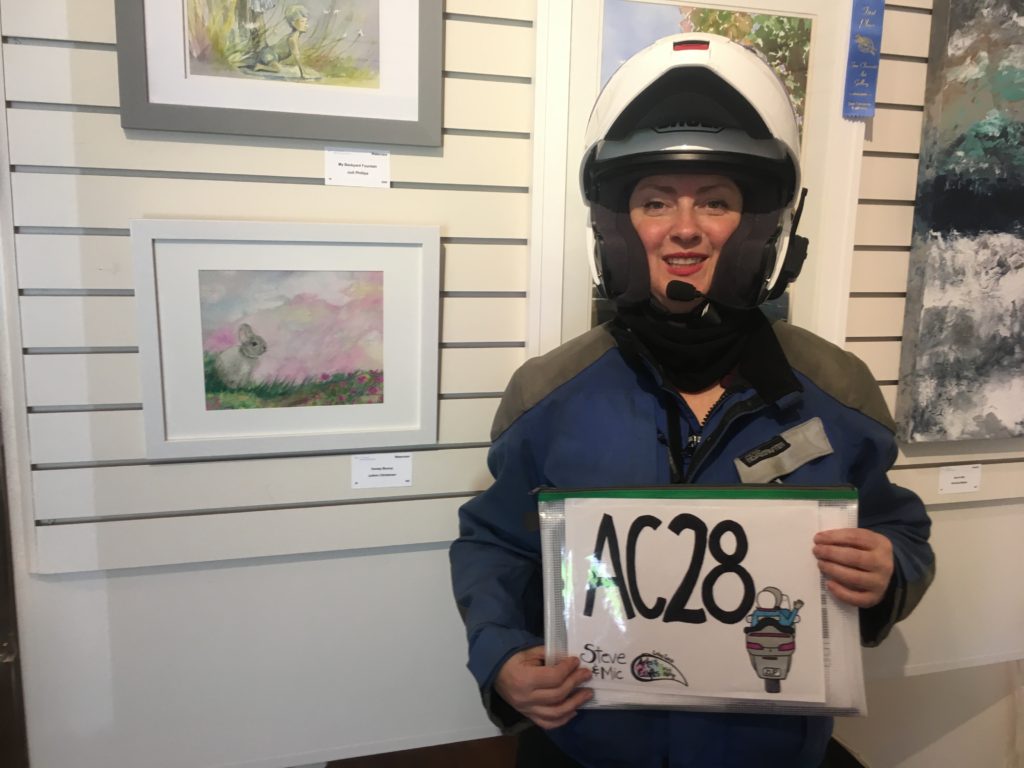 Watercolor Painting – 250pts  Stained Glass (Outside) 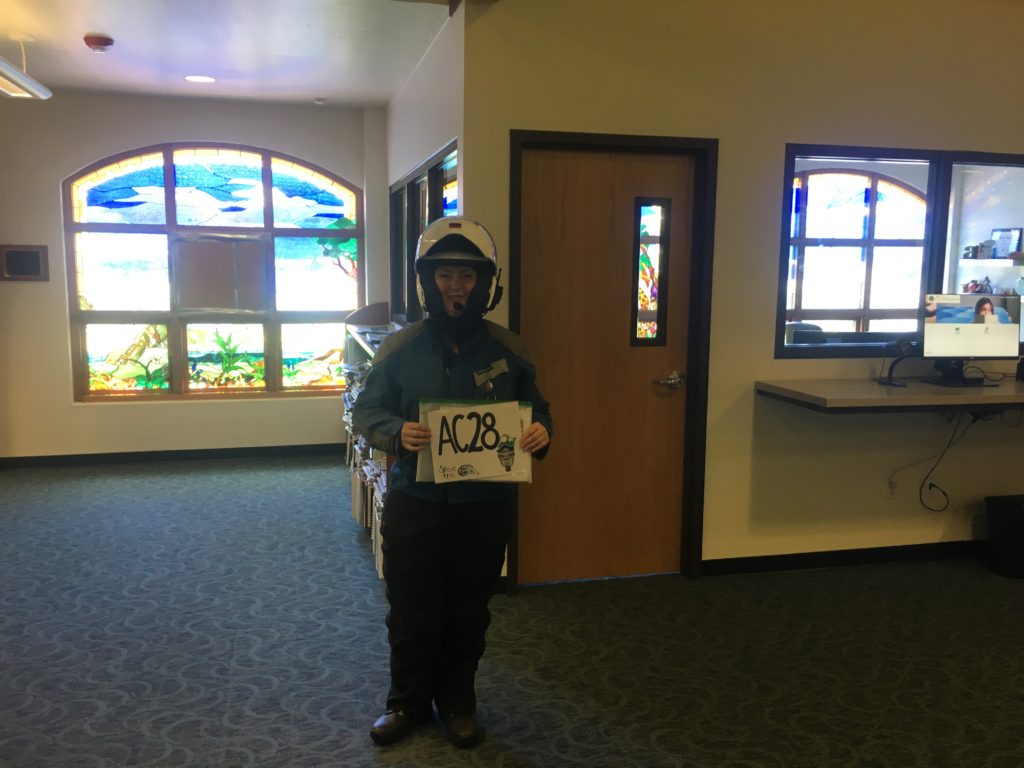 Stained Glass (Inside) – 333pts 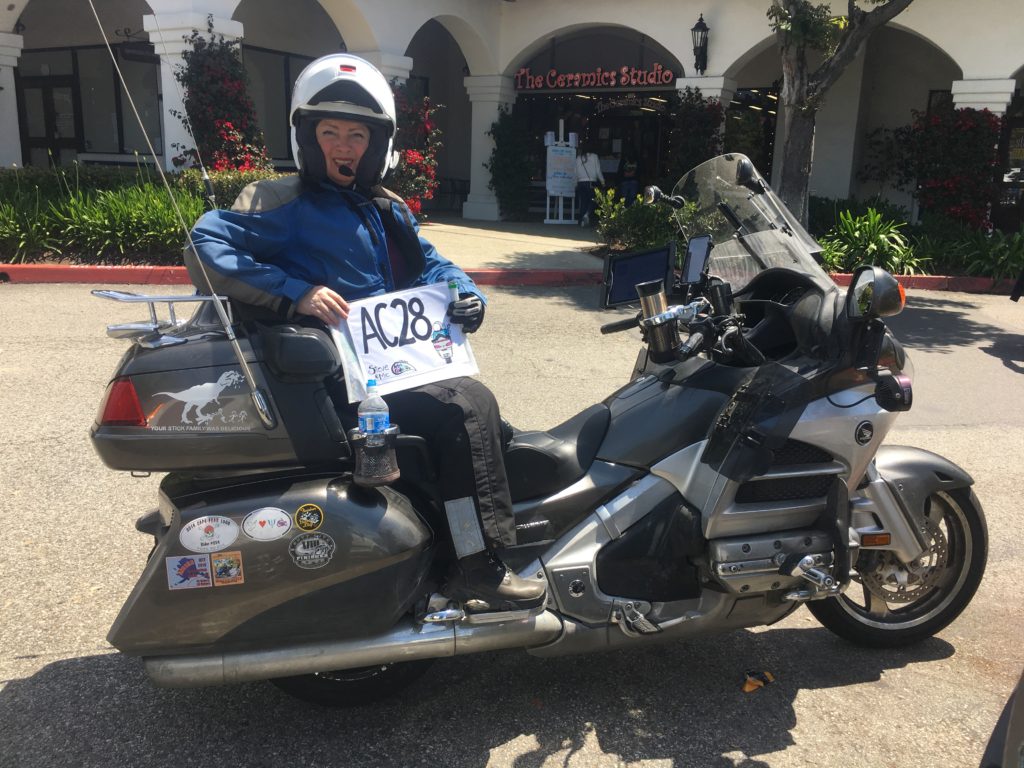 Pottery Studio – 100pts  Rock Balance – ~150pts per rock 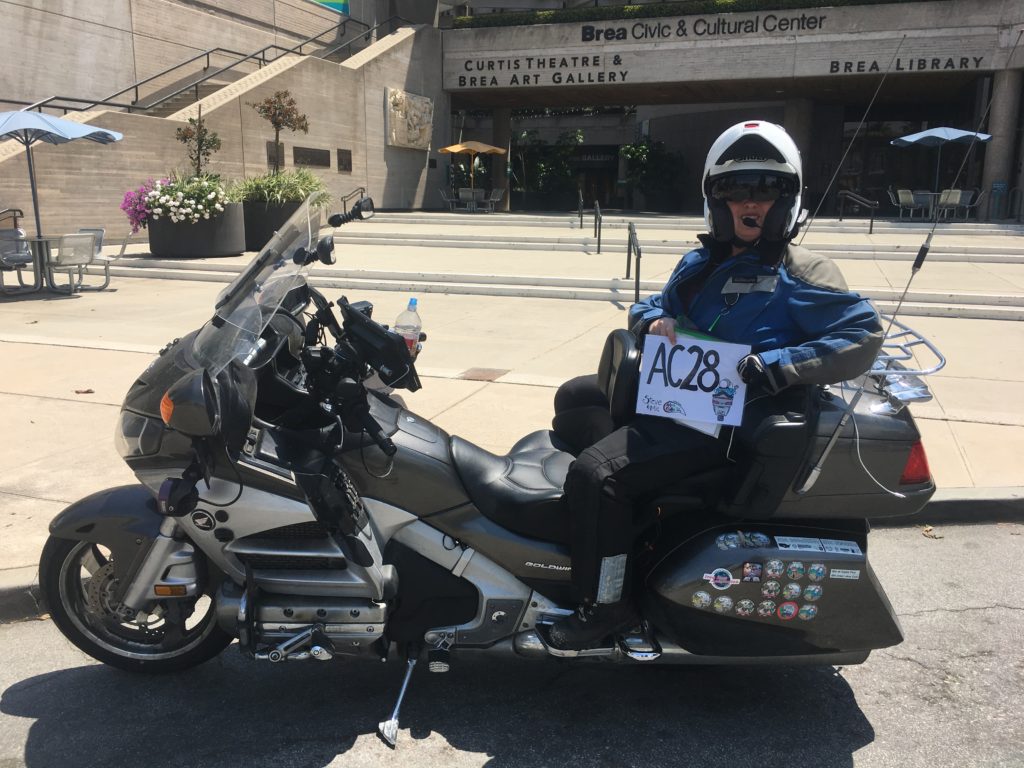 Art Gallery – 175pts 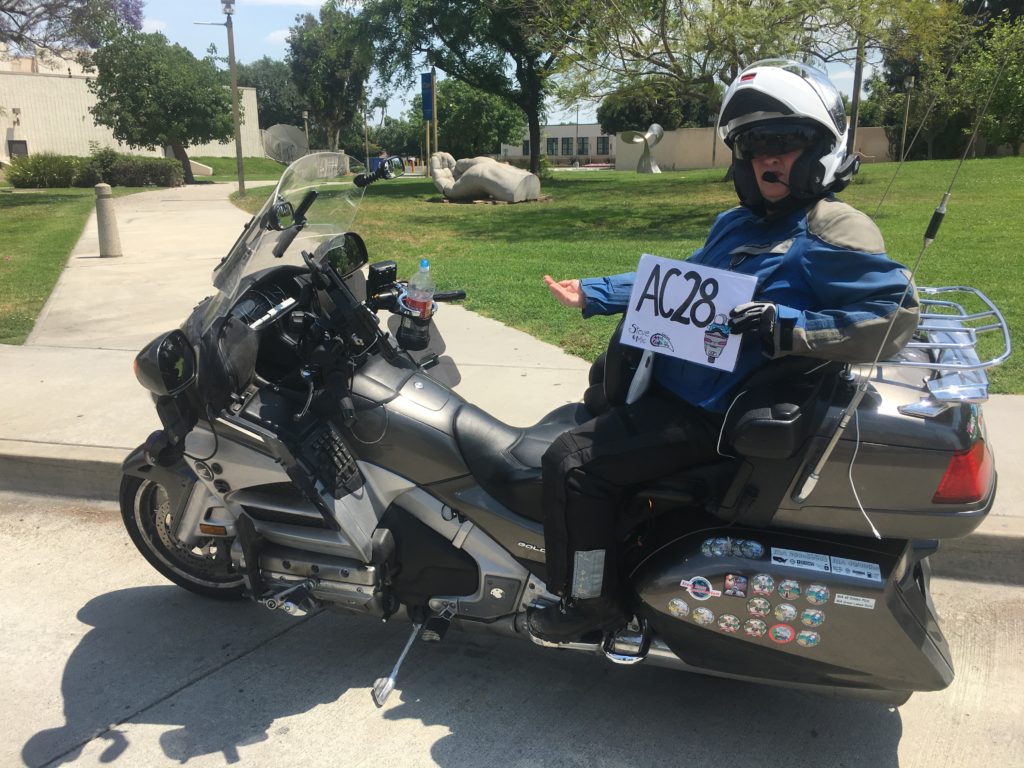 Stone Sculpture – 166pts 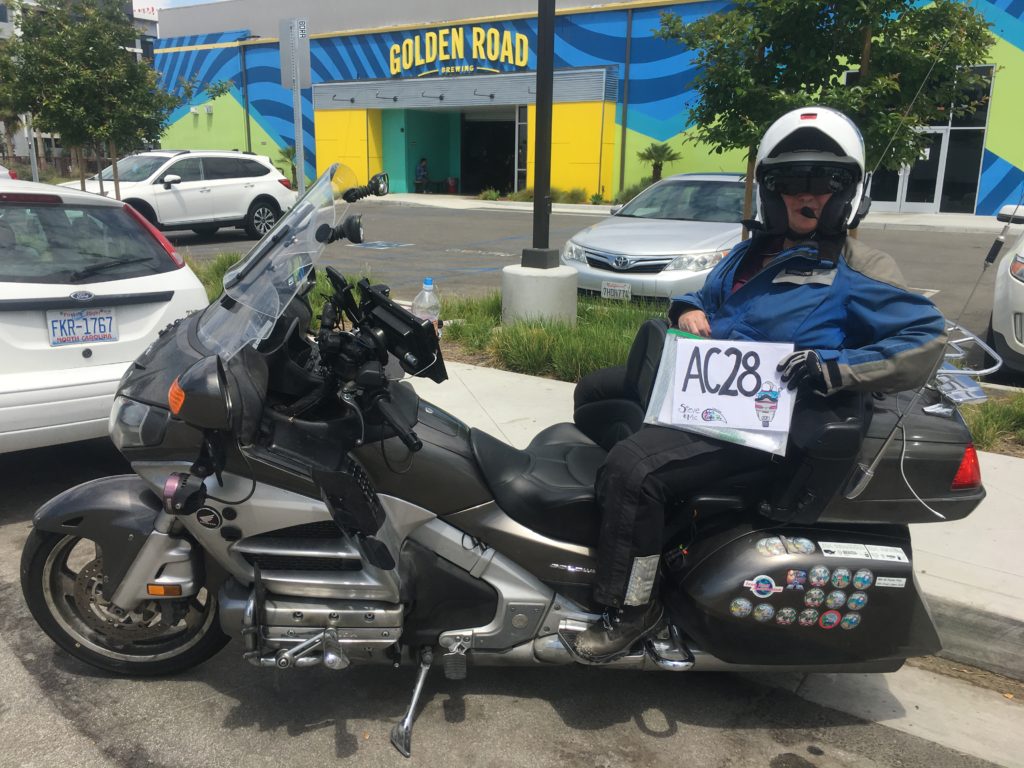 Craft Brewery – 166pts 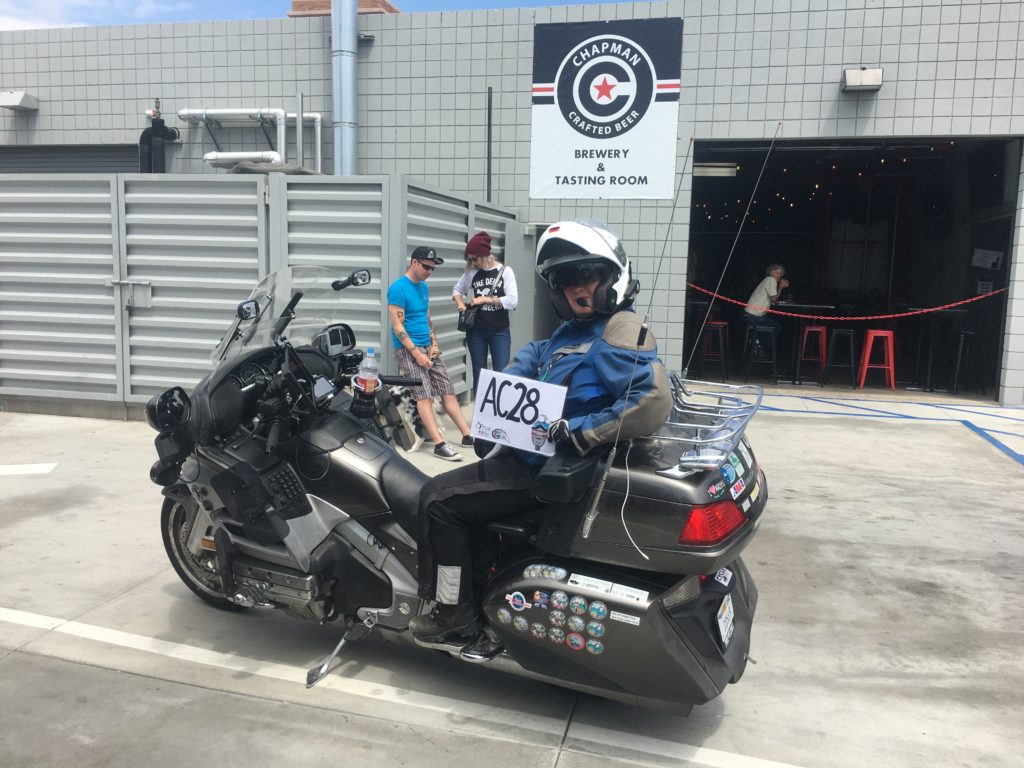 Craft Brewery – 166pts 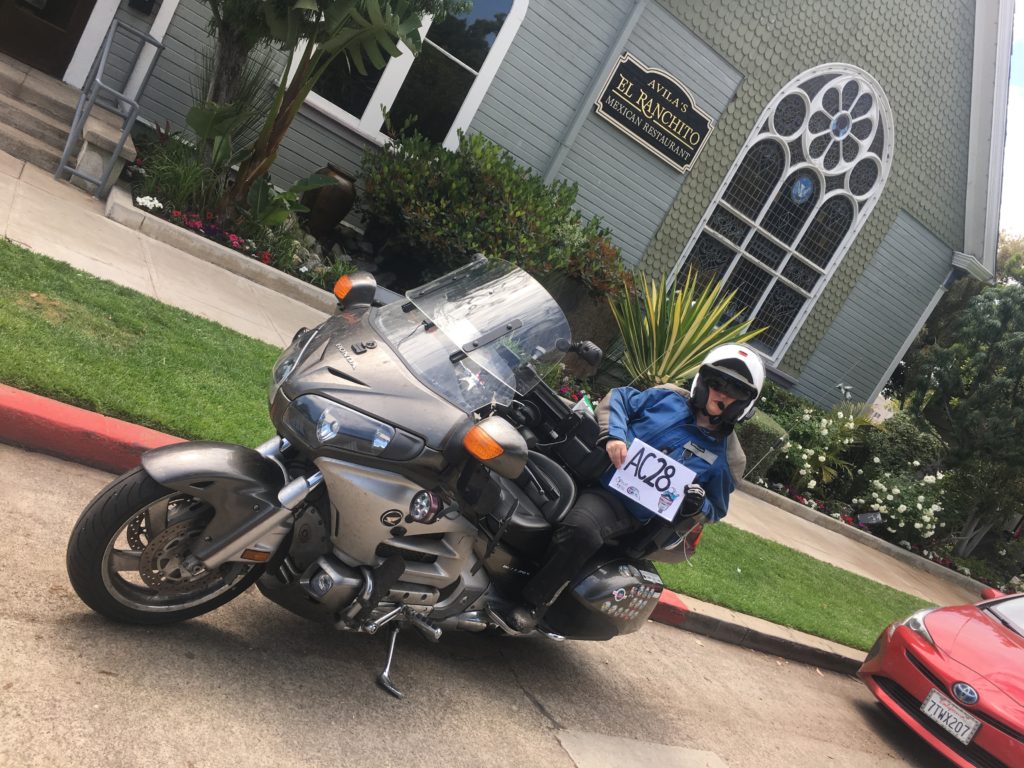 Stained Glass (Outside)  Stained Glass (Inside) – 333pts 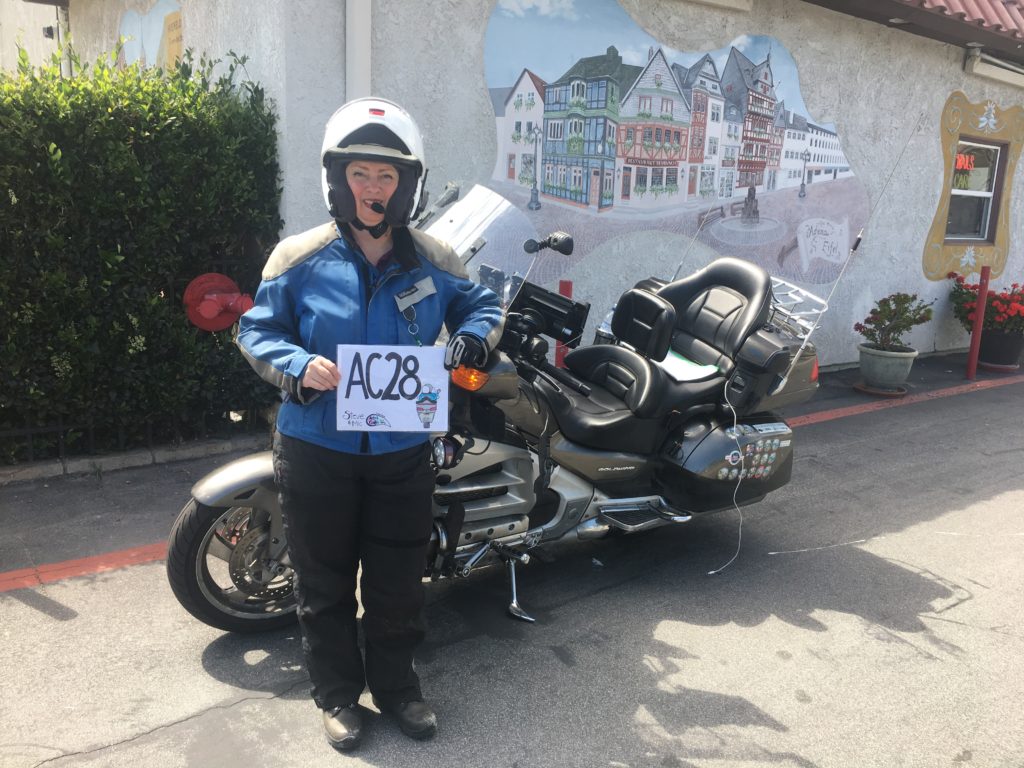 Mural – 25pts 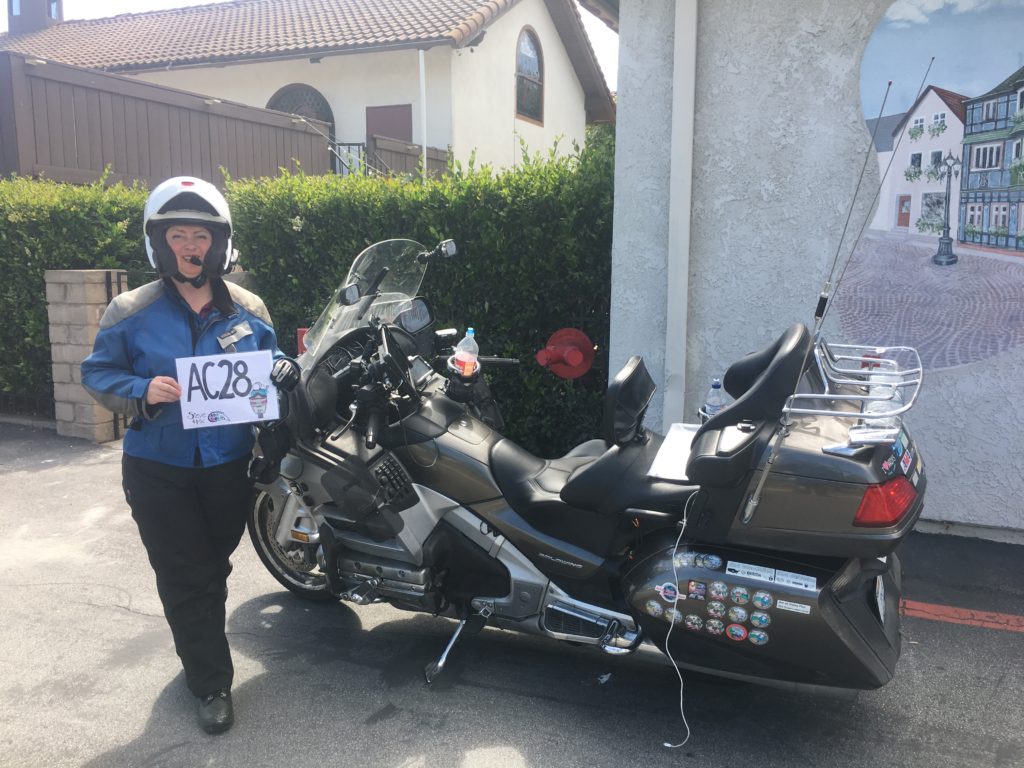 Stained Glass (Outside) 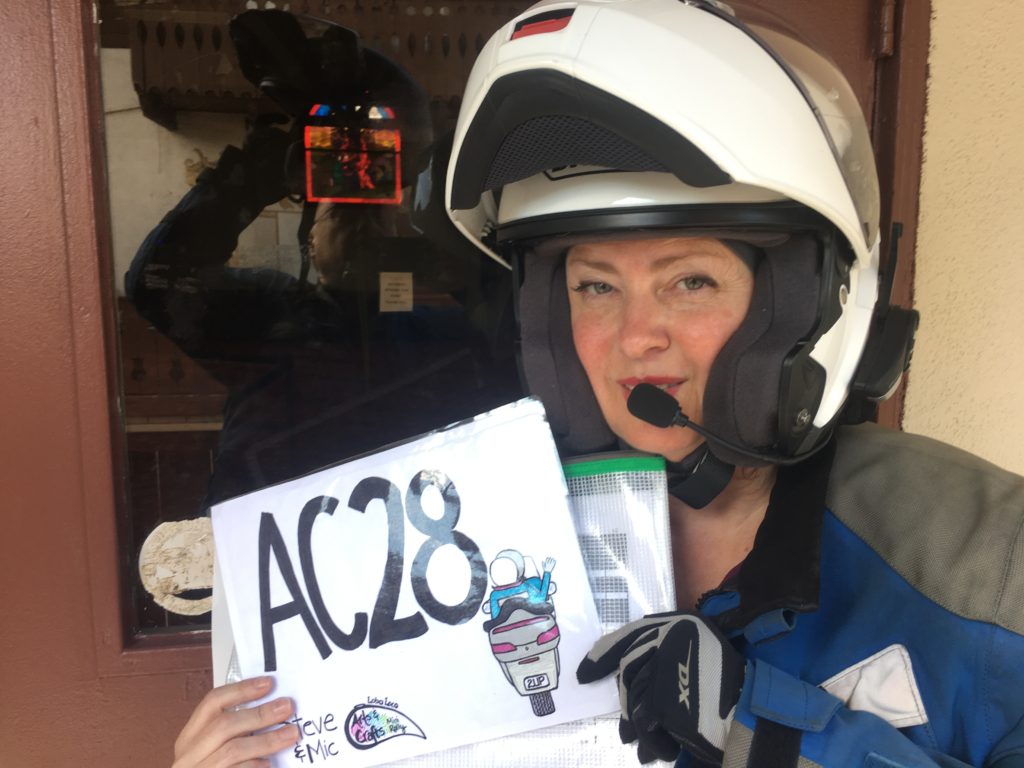 Stained Glass (Inside) – 333pts  Metal Sculpture – 111pts 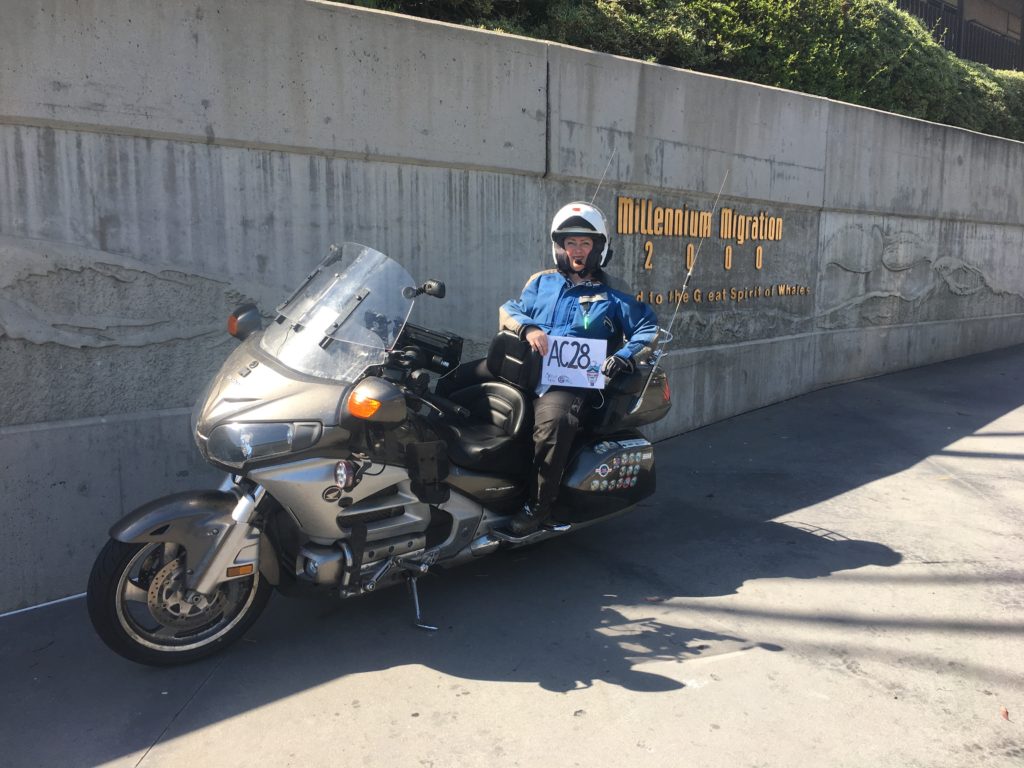 Relief – 200pts 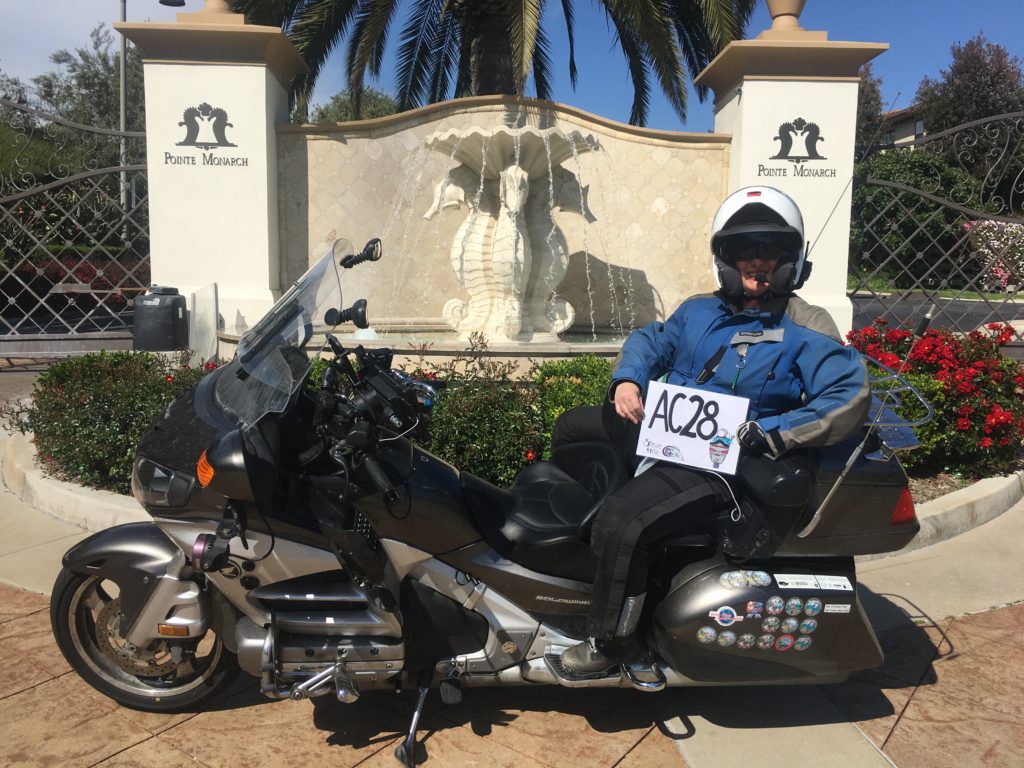 Stone Sculpture – 166pts 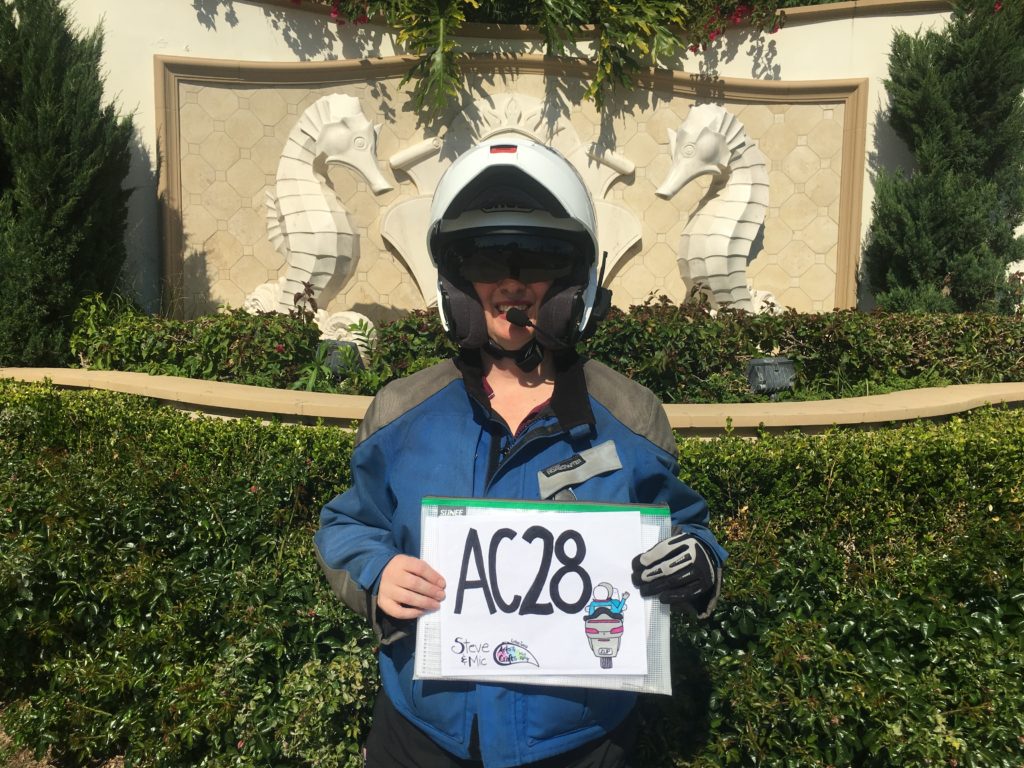 Animal Sculpture – 124pts
|
Site powered by Weebly. Managed by Porkbun